Testing
The following components are used for our AIO cooling testing.
CPU: AMD Ryzen 7 1800X
Cooling: HYTE THICC Q60
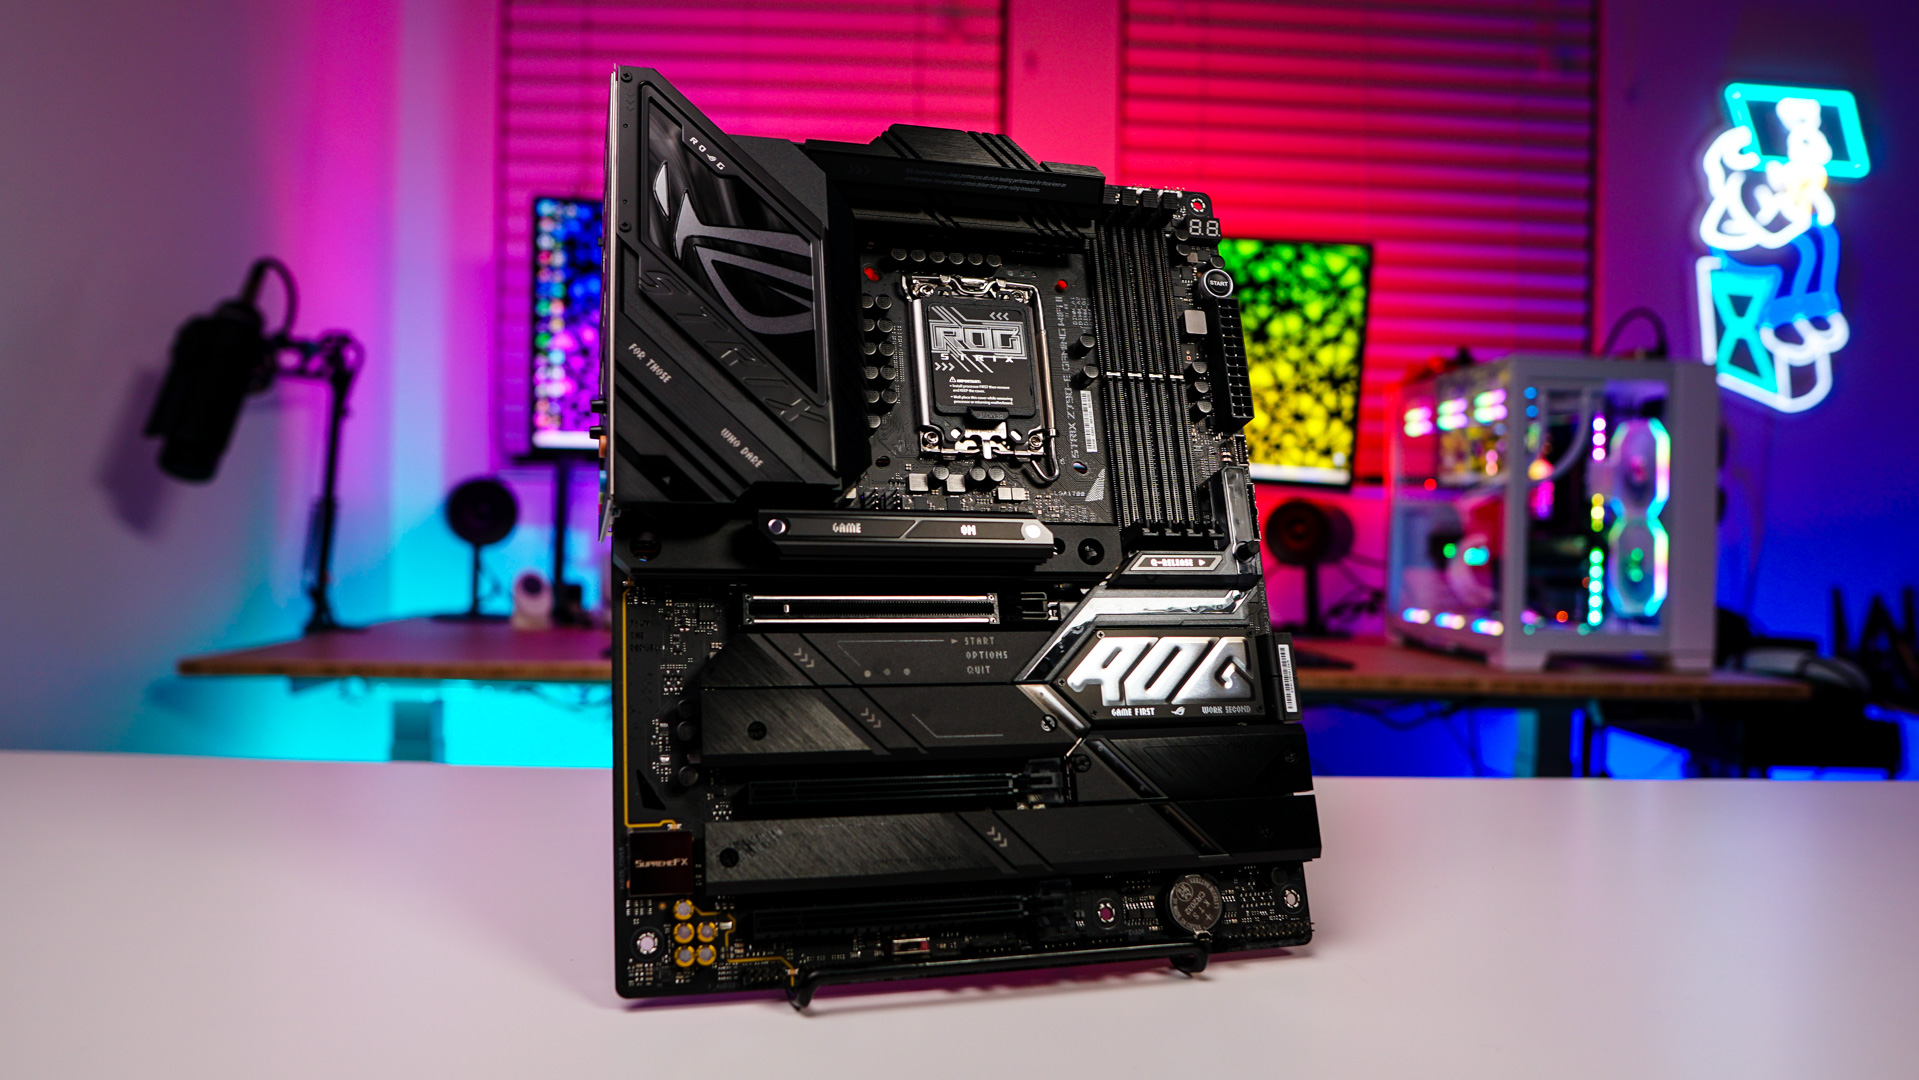
Motherboard: ASUS Crosshair VI Hero
Graphics Card: PowerColor Red Devil Radeon RX 580
Memory: HyperX Savage DDR4-2666 16GB
Storage: Corsair Force MP500 M.2 PCIe NVMe SSD
Case: Fractal Design Define R6 Tempered Glass
Power: EVGA G3 650W
List of coolers being compared:
– Cryorig H5 Universal
– SilverStone PF240-ARGB
– ARCTIC Liquid Freezer II 240
– Corsair iCUE H115i RGB PRO XT
– Alphacool Eisbaer Aurora 360 CPU
– NZXT Kraken X63
– NZXT Kraken Z73
– Corsair iCUE H150i ELITE CAPELLIX
– Cooler Master MasterLiquid ML280 Mirror
– Cooler Master MasterLiquid PL360 Flux
– DeepCool LS720 WH
– EK-Nucleus AIO CR360 LUX D-RGB
– Cooler Master MasterLiquid 360L Core ARGB White
– Lian Li Galahad II Trinity SL-INF
– Cooler Master MasterLiquid 360 Atmos
– ASUS ROG Ryujin III 360 ARGB White Edition
– AZZA Cube 360
– Iceberg Thermal IceFLOE OASIS 360
– HYTE THICC Q60
For performance testing we will first test idle temperatures. These are taken on the Windows 10 desktop an hour after the system has been turned on.
For load testing we will be running the AIDA64 system stability test with the CPU only checked. This puts a full load on our CPU. We run this test for 1 hour and record the highest temperature throughout the test.
Software
HYTE’s Nexus software is used to control the THICC Q60, and you can access the performance settings via the Cooling widget. The Cooling widget is laid out in a linear design, with a flow of Input, Curves, and Outputs. First up, the Input lets you select from a variety of sensors or readings available to you via the various hardware components in your build. By default, the THICC Q60 is configured as the input off choice, but you can change that to anything you like that is available, be it your CPU or GPU temperature, a particular motherboard temperature, or something else. For this review, we are leaving the THICC Q60 as the input, and have chosen the default of the Harmonic Pump Temp In as our Input.
Next up is selecting the type of curve you want to tie the input to. In order to make all of the curves available to be used for this input, all curves have been connected by default. Adding or removing existing curves is as easy as drawing a line between the Input and Curve, and you can even add new custom curves of your own.
Connecting the curves to Outputs is a similar process. Here we are telling the Curve which output device it should be applied to. The default again is to have the pump Curve applied to the Pump Output, while the Balanced curve is applied to the fans Output. This simple mix and match connectivity really becomes quite flexible and easy to understand once you start messing with it. I do however wish there was a reset or default option to help start over if you get overwhelmed or unsure of how things work.
As far as lighting goes, the Lighting widget offers control over the qRGB LEDs found on the back of the screen and the HYTE logo on the radiator. You can make more universal changes with the Universe selection window, while the Planet option offers discrete control over the individual lighting zones on your HYTE components. Not only can you use the Animate sub-menu to select from animated color schemes, you can also tie the lighting to what is displayed on your monitor, or event he media you have playing, like music or videos.
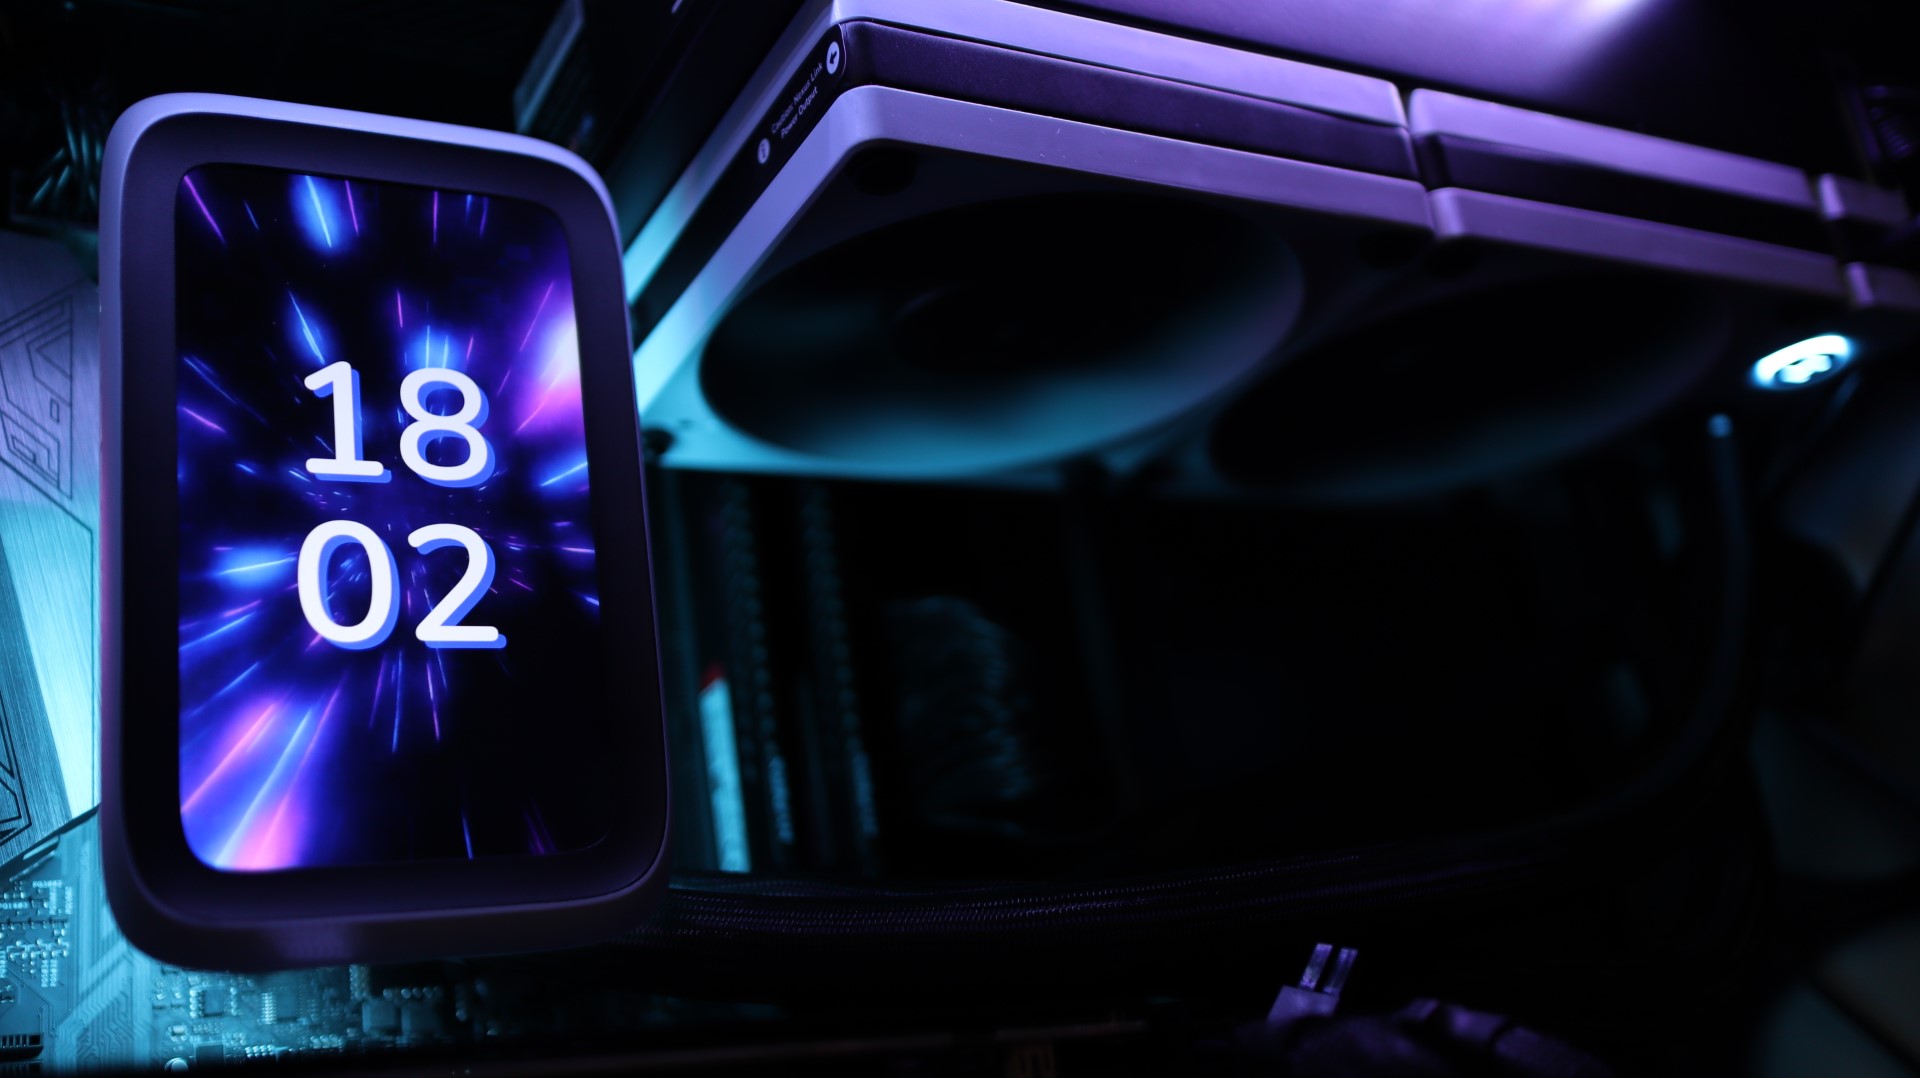
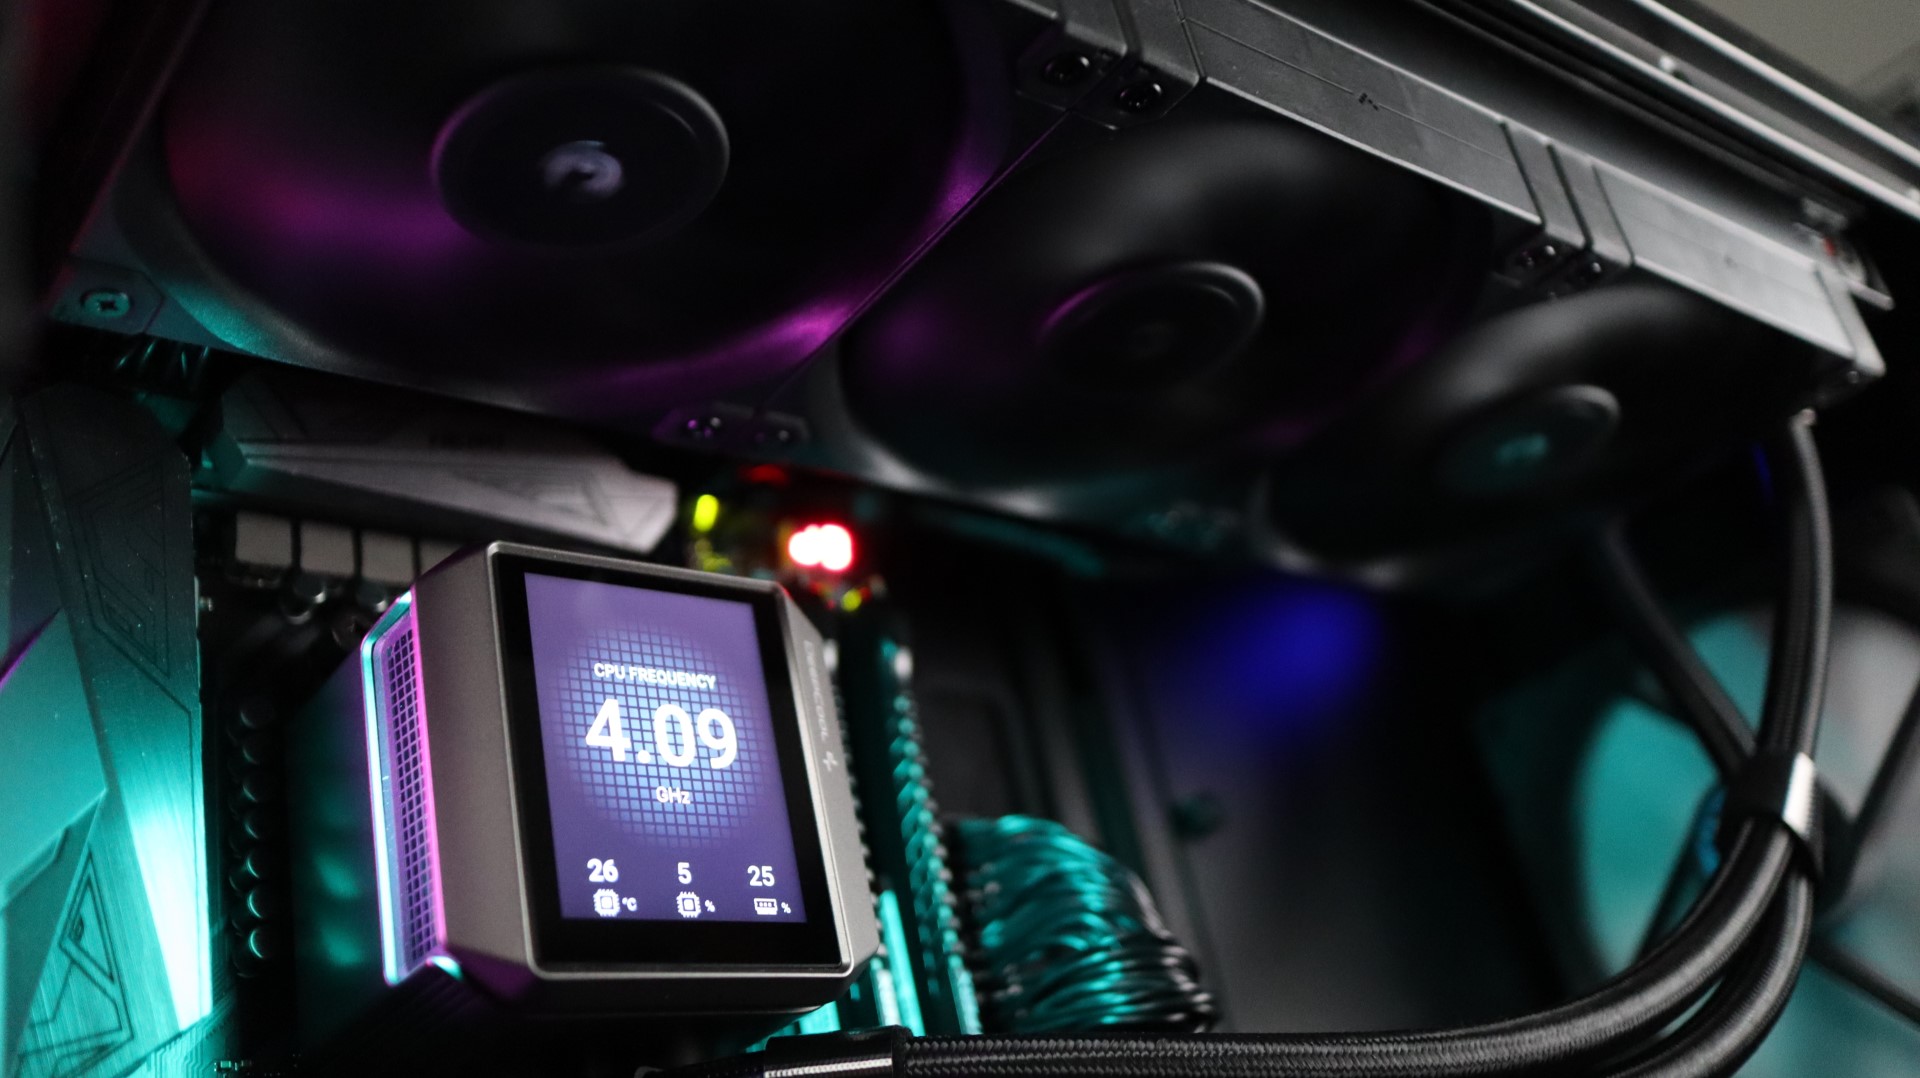
The Faces widget is where you control what is displayed on the LCD screen, and here you have all sorts of options to configure. There are multiple clocks, performance monitors, weather tracking, media stats, and more. You can also adjust the background to an image or video of your liking, or just select one of the included defaults.
Below is a quick overview of some of the options available to you in the Nexus software from HYTE.
