Installation
Getting your M.2 2230 drive installed in the Sharge Disk is extremely easy. Remove the top section of the drive and install one of the included thermal pads in the outlined space on the PCB.
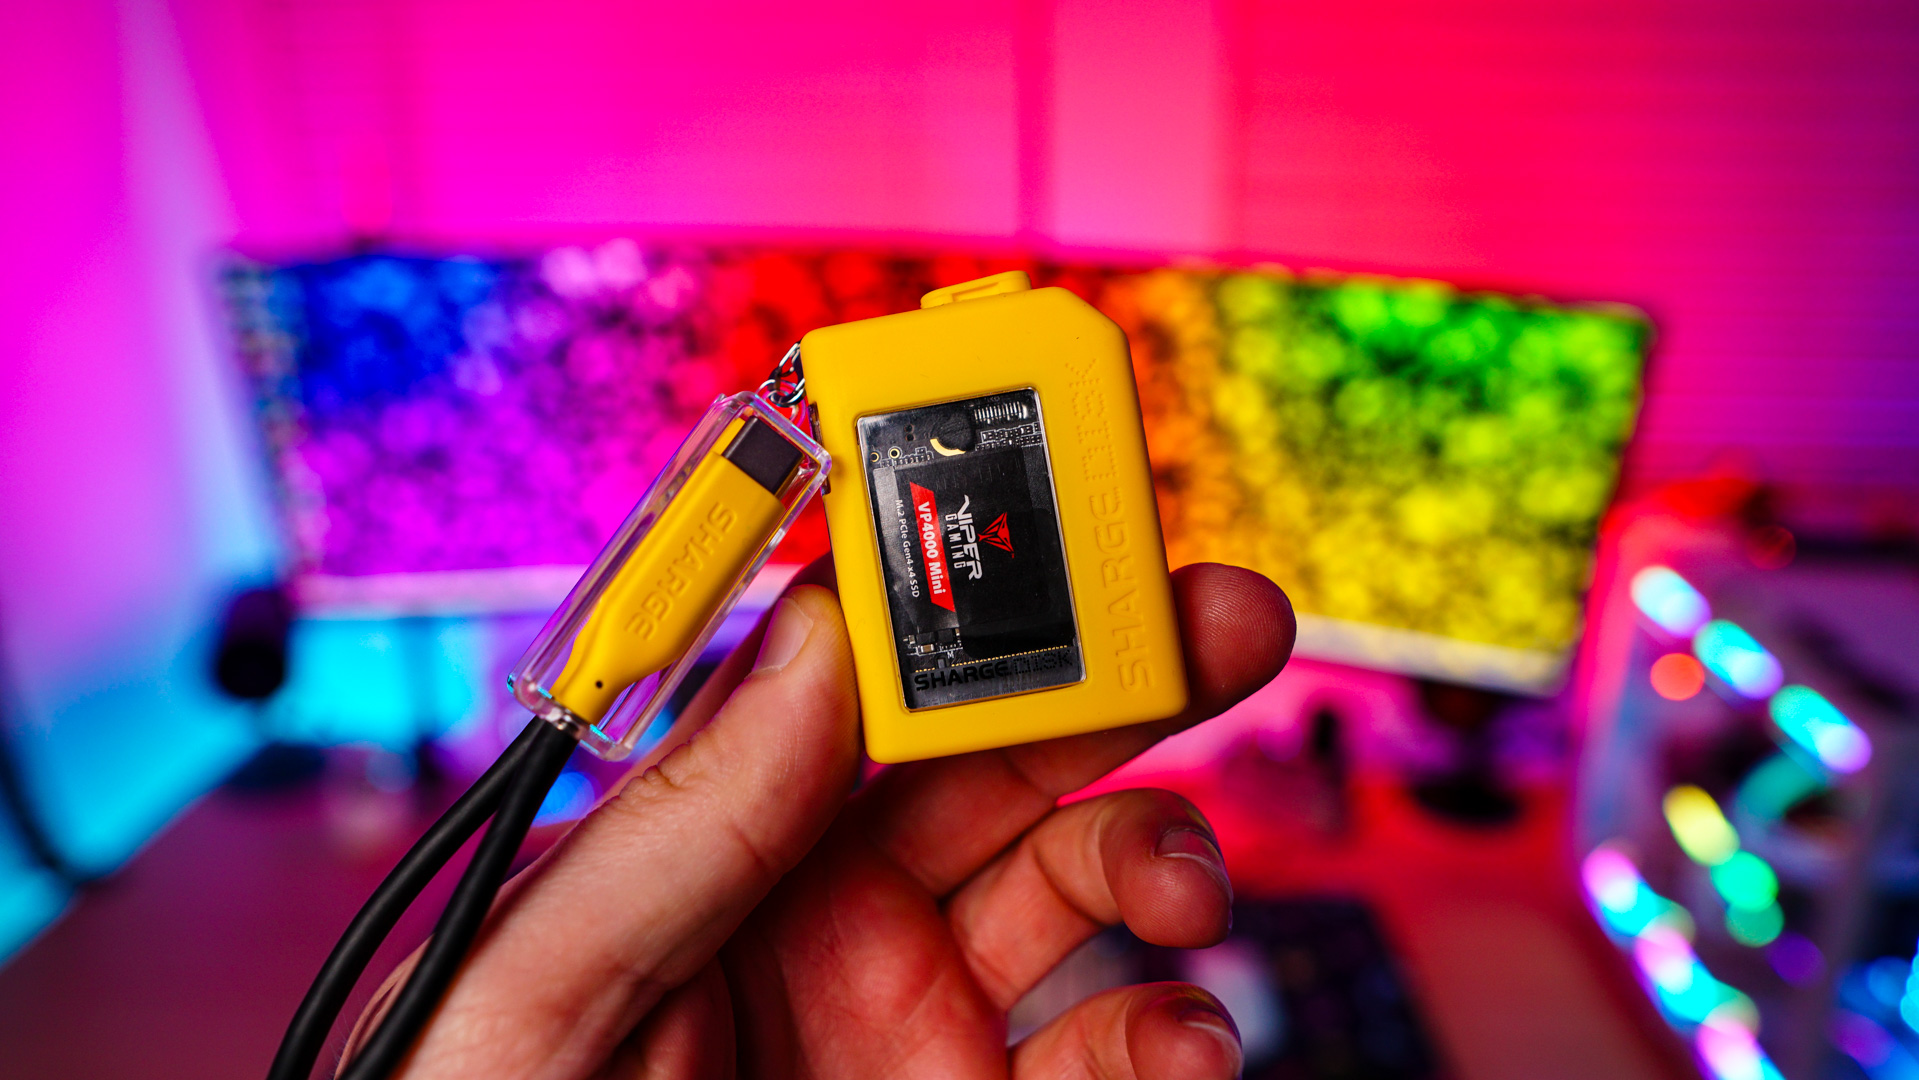
Then take your M.2 2230 drive and place it into the M.2 slot. We are using the Viper Gaming VP4300 Mini which we recently reviewed. With it in place use the rubber grommet towards the end of the PCB to secure the drive in place. Finally put the top section of the drive on and you are good to go!
The included silicon case provides great protection for the dive as it is IP56-rated. It also has a window on it so you know which drive you are using. There is a place to attach the included USB-C cable, which will then act as a lanyard for you to easily attach to a keychain.
Testing
Since this is a USB 3.2 gen 2 drive the max speeds we can get will be around 1000 MB/s. Keep in mind that the speed will depend on the type of drive you install in the enclosure.
To test this we ran a few different benchmarks including CrystalDiskMark, ATTO Disk Benchmark, and the AJA System Test.
